Here is a brief look at how to create your own dungeon using the Construction Set.
1. Load up Morrowind Master file.
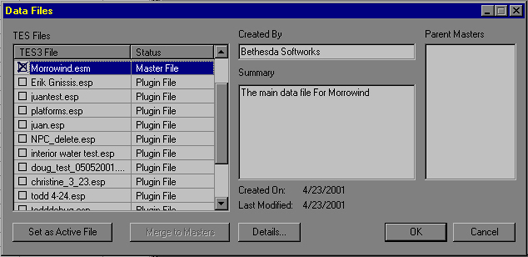
When starting any new plug-in, you should always load the “Morrowind.esm” first, since that is the file your plug-in will rely on for objects, creatures, landscape and any other data. All changes you do while working will be tracked as well as its relationship to the data in “Morrowind.esm”
2. Create a new interior cell.
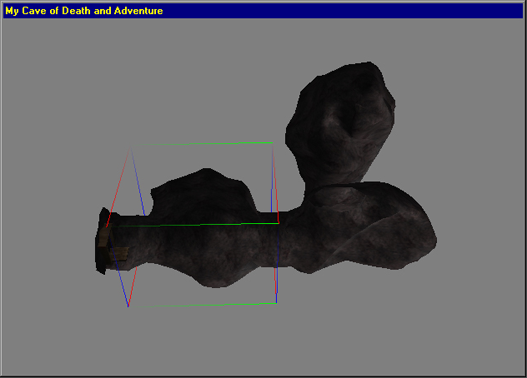
Once Morrowind.esm has loaded (this is a big file and may take up to a minute), create a new interior cell for your dungeon. All areas of the world are referred to as cells. Select World\Interior Cell and press New. Give your map a name (“My Cave of Death and Adventure”). Keep in mind that the player will see this name when entering the cell. You can also select other options here such as the ambient, fog, and sunlight color in your map, if it has water, and if the player can sleep in his area legally. Last, select your new cell from the cell view window by double clicking it. The render window will now switch to your cell, viewed from the top.

3. Layout the basic geometry.
The first thing to do in building your dungeon is to layout the pieces. Select the “Static” tab in the Object Window and select the objects you want to use. To place these, simply drag and drop pieces into the render window. Static pieces are used for basic building blocks such as walls, houses, furniture and other objects whose only purpose is to collide with.
After you have the pieces in the cell, move them around and “snap” them together by dragging them around the render window. In this example we’ve used 4 of the pyrite cave pieces to snap together. This is a small sized cave, but should provide a nice quick diversion for the player.
4. Add creatures.
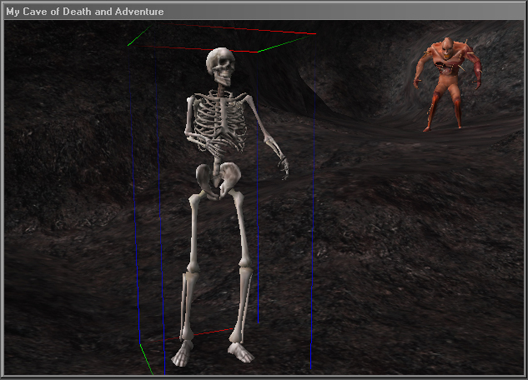
Next select the “Creature” tab in the object window and drag in some creatures. We’re going to fill this dungeon with undead creatures, so we’ll use some skeletons and bonewalkers.
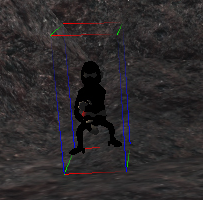
In the back room, we’ll put some “Leveled Creatures”. These are creatures that will be generated from a list that, like everything else in the editor, can be modified. In this example we’ll fill the “leveled creature” list with undead creatures to keep the theme of the dungeon consistent, but any creature can be placed in the “Leveled Creature” list. Leveled Creatures are selected from the list based on the player’s level, so our cave will be filled with harder creatures for higher level characters, and easier creatures for low level characters. These creatures will also respawn if the player kills them and comes back later on, so there will always be a few creatures in our dungeon for fun later in the game. Notice that the Leveled Creatures look like “Ninja Monkeys” in the Construction Set, but these will become real creatures when the player enters the area in the game. We’ve placed in two leveled undead creatures we created to keep things consistent.
5. Add treasure, clutter, and doors.
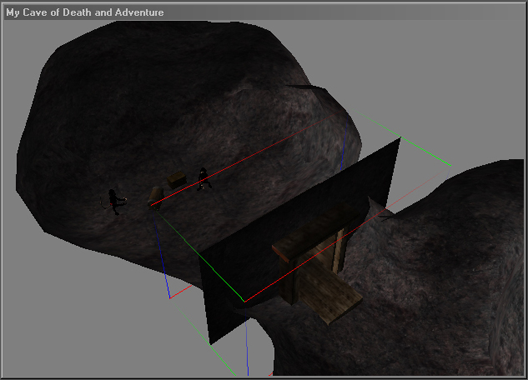
All dungeons need treasure and other stuff to make it interesting. So we’ll drop in some chests from the “Containers” tab that have some gold and other Leveled Items. The Leveled Items work much the same way as leveled creatures. The designer can fill the Leveled Items list with objects that will be interesting and leveled to the player. You may want to drop in some furniture and such from the “Static” section to keep it interesting. We’ll also drag in a doorway (each architecture style has a doorway or door-jam piece) and a door into the hall to keep this back room separated. The doorway can be found under “Static” and the door under the “Door” tab.
6. Add Lights.
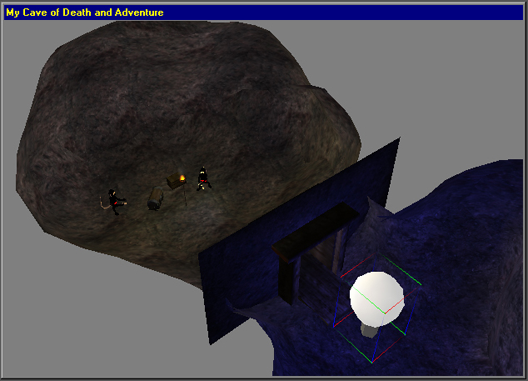
Next you’ll want to add some lights, under the “Light” tab. There are two basic kinds of light, one is just raw light and has no associated art, such as the deep blue glow we’ve placed in the following shot. These lights will be represented as big light bulbs for placing purposes. The other kind is lights that have art, such as the torch we placed by the Leveled Creatures (ninja monkeys) in the back room.
7. Link to the outside.
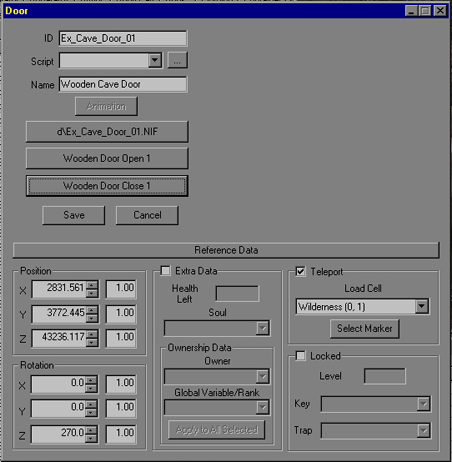
The final step here is to link this dungeon to the outside world, or tell the dungeon exit where to go when the player uses it. Place a door at the entrance, double click it and set it to teleport the player to another location (choose an exterior cell, but you can also have that door lead to another cave or dungeon). You’ll need to add a dungeon entrance to the outside world as well, so see the landscape sample for how to do that.
8. Save and test.
Last, press save and give your plug-in a name (MyPlug-in.esp). Everything you’ve changed has been tracked by the editor and will be saved into this file. Run Morrowind with your plug-in and test out your dungeon. Make sure all the doors work and it’s fun. You’ll probably want to tweak the creature placement and lighting after you play through it. They make a huge difference on how fun something is and how nice it looks. You may even want to add a few more rooms after you get the hang of things.